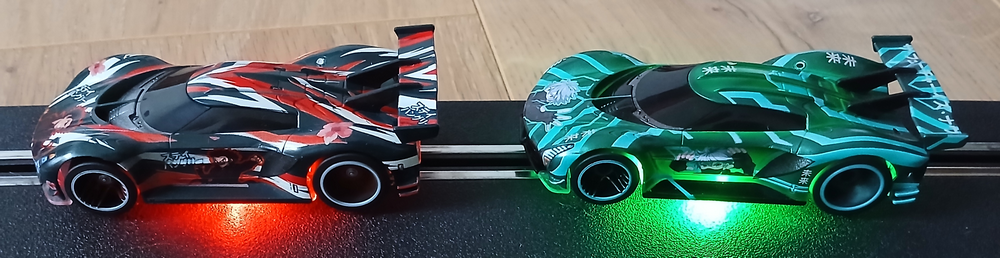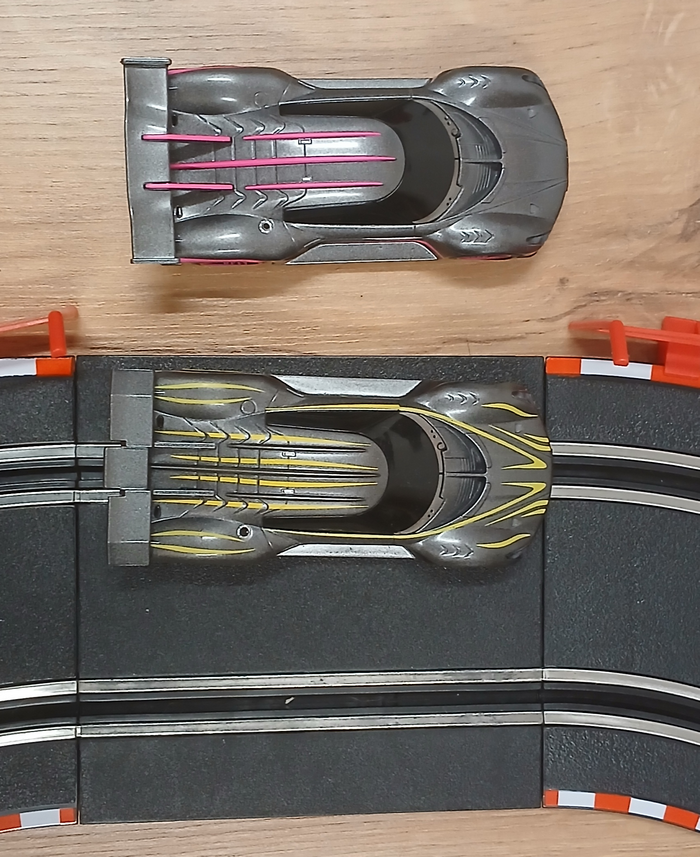
In previous tests, we discussed GO Hypercars and Pull & Speed Hypercars. We saw that the body shells are identical. Two colors are available for GO Hypercars, and four for Pull & Speed Hypercars. So I thought it would be cool to be able to change the color of a GO Hypercar. And if, for example, you damage a GO Hypercar body shell, you can buy a Pull & Speed Hypercar to replace it.
Now, let’s put this theory into practice… action!
So here we are, side by side.
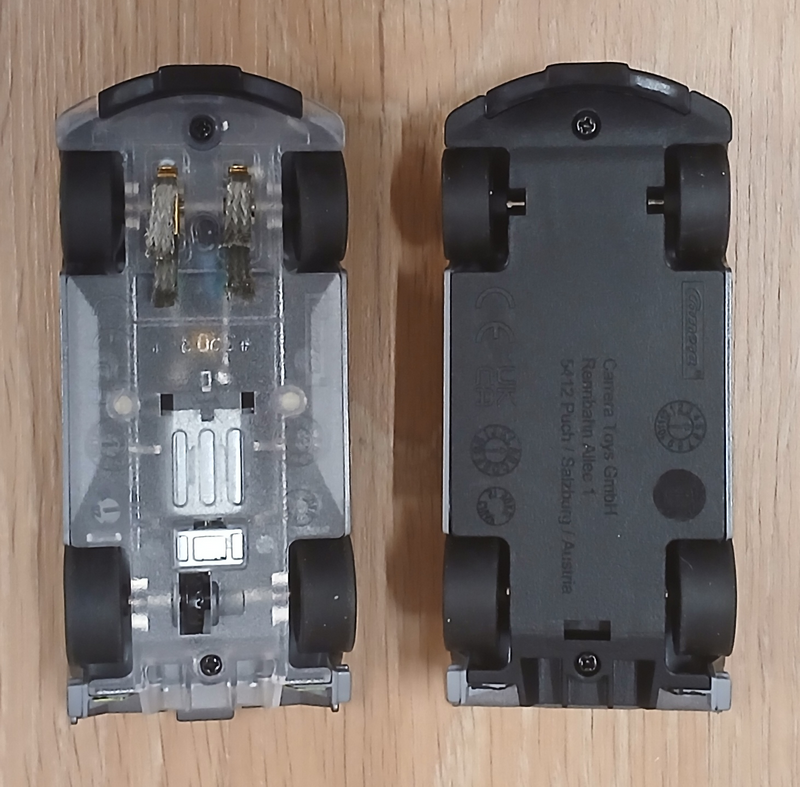
Here we see the interior of the vehicles, with the rear-wheel drive system on one side, and for the GO version, the electric motor positioned slightly more centrally, along with the two chassis lighting LEDs facing downwards.
We can also see that part of the front bumper is detachable.
A closer look at the chassis of the Pull’N speed.
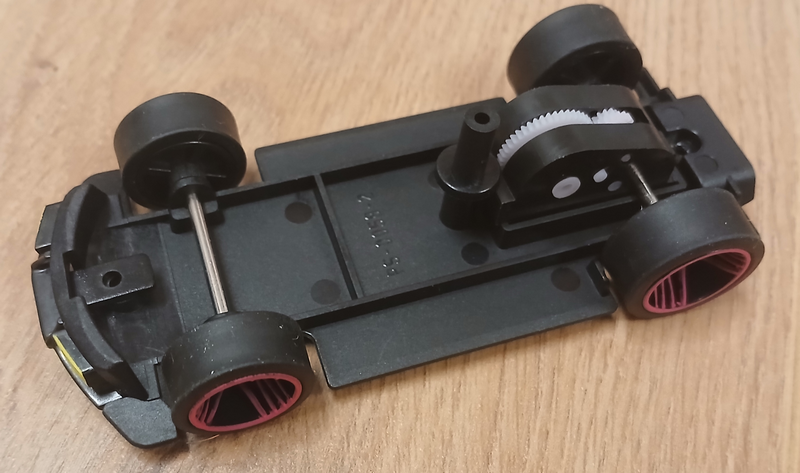
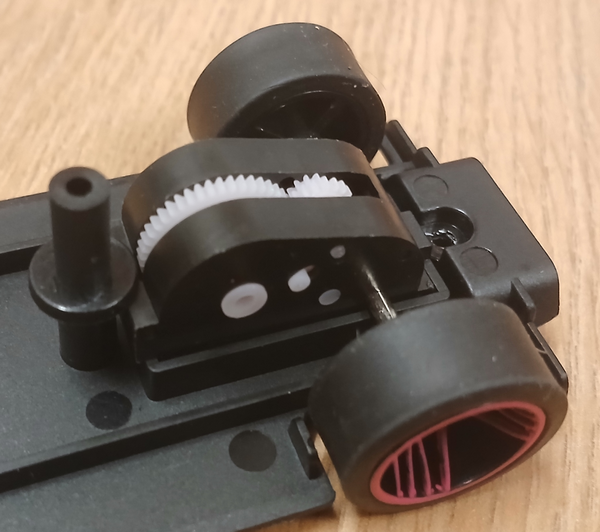
Super zoom on the mechanism.
Close-up of the GO chassis. You can see how the motor picks up electrical current from the track via the braids under the car. Also visible are the capacitor for the motor and the resistors for the LEDs.
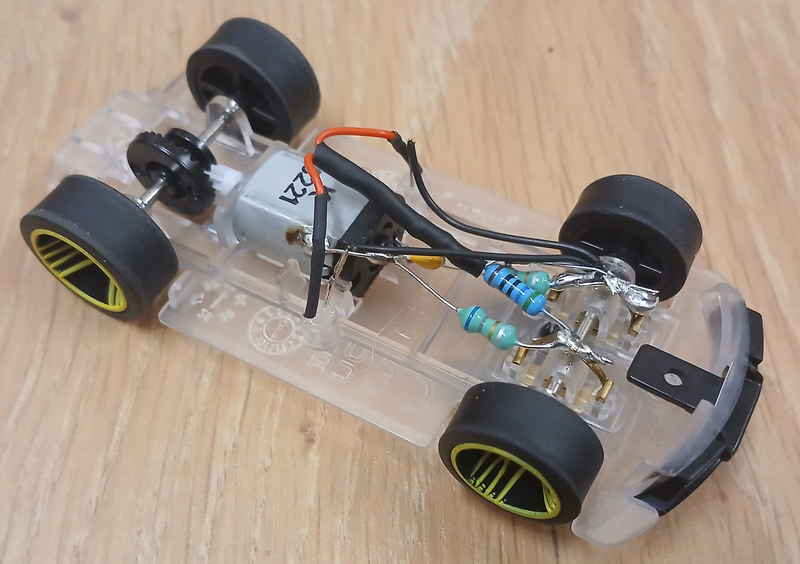
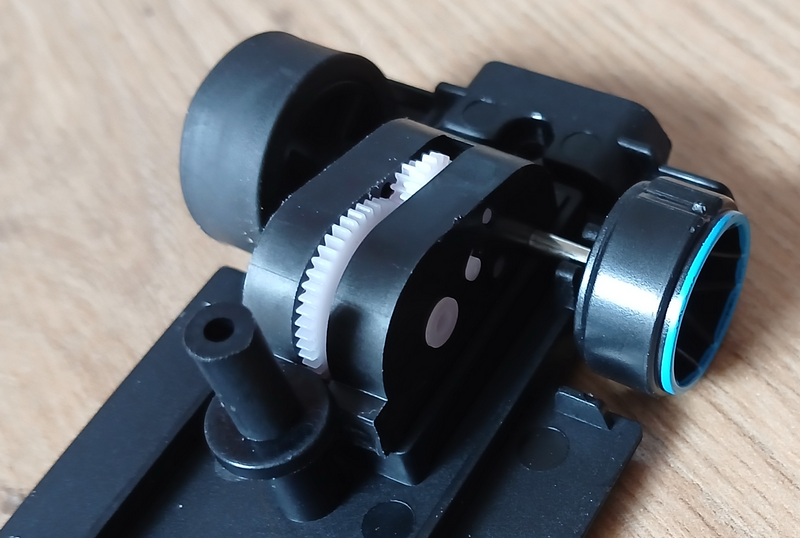
Another view showing the transmission section between the engine and the rear axle.
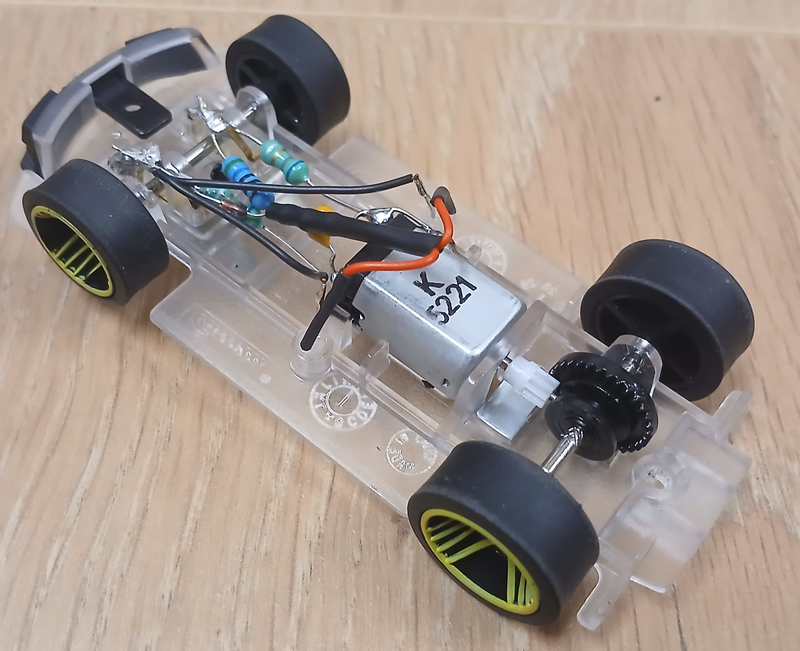
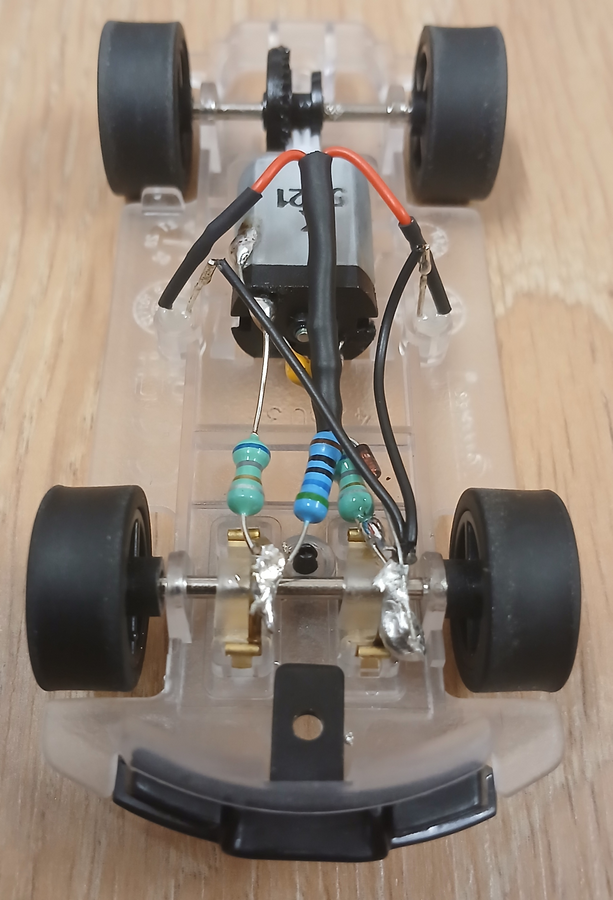
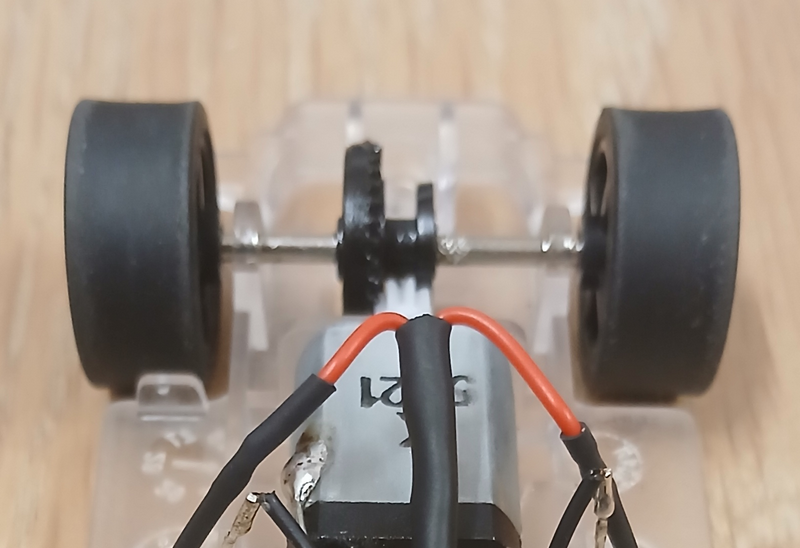
A final view to clearly see the wires and electrical components. This view is interesting because it highlights the fact that the tires are not flat but concave in the middle. This deserves closer attention. A small zoom below.
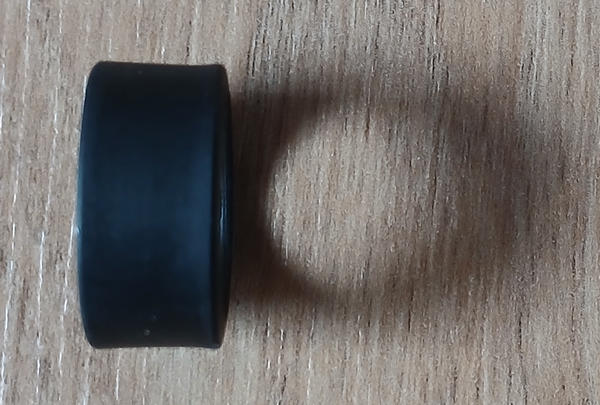
Upon closer inspection, it becomes clear that the tires are not flat. This is the same on both the GO and Pull’N Speed versions. Furthermore, it’s noticeable that the tires are worn and dirty only on the outer edges.
I thought the rim was probably hollow and that this was causing the difference in level, so I checked by removing the tire from the rim. But no, the rim is flat beneath the tire’s surface. As for the tire, without the rim’s pressure, it remains curved. The tire was clearly molded with this problem. I think the deformation upon exiting the mold, particularly of the thinner section, wasn’t anticipated during the design phase.
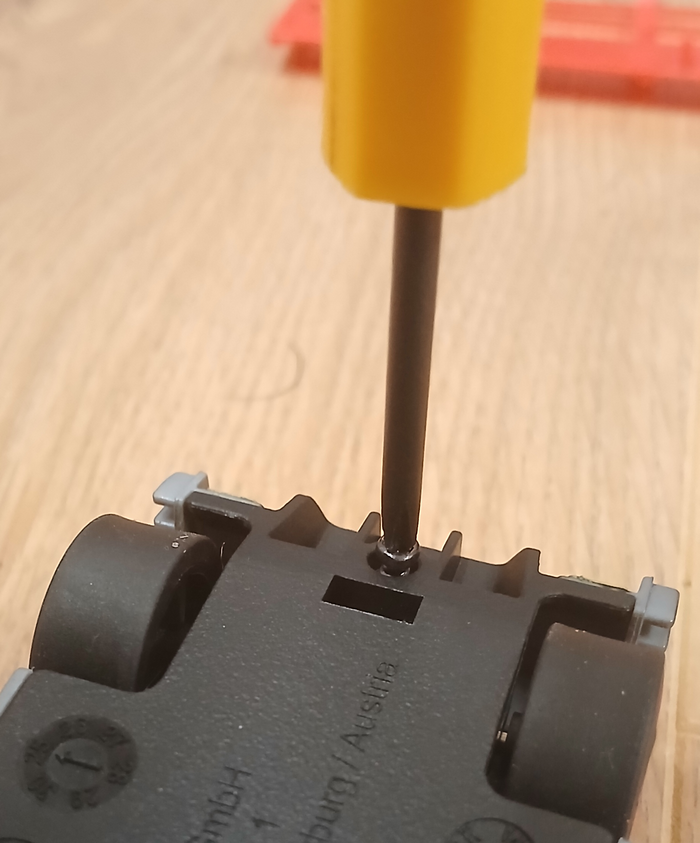
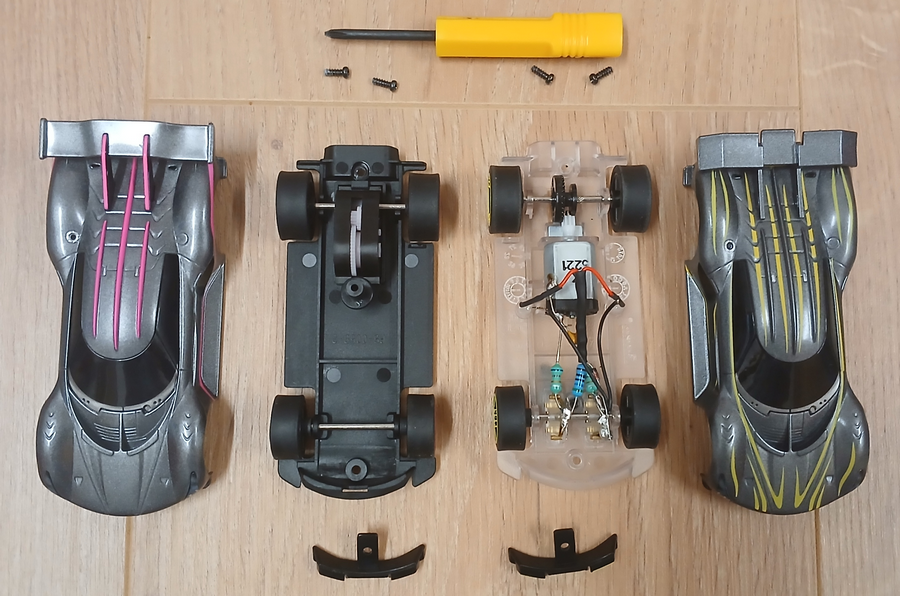
Disassembling and reassembling the bodywork is quite easy; with a small Phillips screwdriver, you just need to unscrew or screw in two screws.
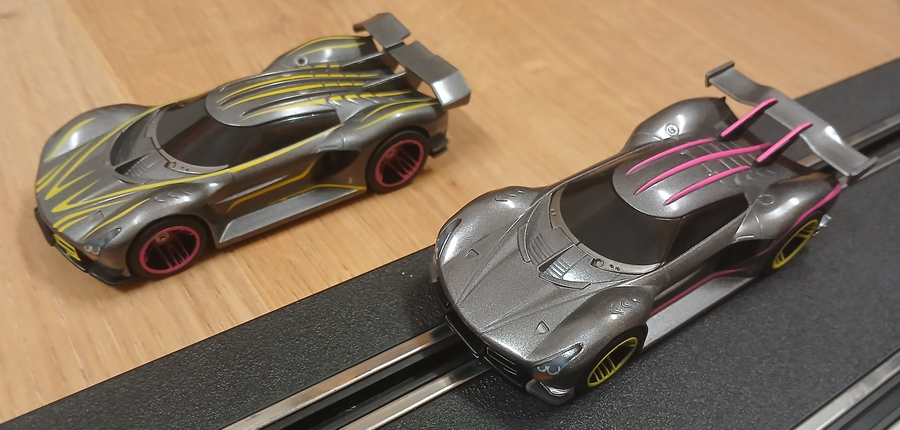
After reassembly, you can see here that the pink car’s chassis has a yellow body, and vice versa.
I now have a pink GO car on the track.
To be thorough regarding these chassis and bodies, please note that these components were used for the GO: Ronin Racers set. Reference: 20062621